Hello! So, I took forever to get these swatches up, but I have the November 2015 It Girl box up on my blog finally. I really have not been in the blogging mood lately. I paint my nails, and even take the pics, but then they just sit on my camera for weeks. Whoopsie. Anyway, I have 4 swatches for you from this box.
I did not swatch the shimmer topcoat because I didn't have a chance to wear it on it's own, AND I had a really bad break with a sloppy patch, so sheer polish is NOT happening right now. :)
First up, we have Sonia. This is a metallic blue that dries to a matte finish. It is super opaque, and went on in just one coat. This is without topcoat.
Next, we have Rashida. This one is the same formula as Sonia, but is a soft bronze color. It went on in one smooth coat, and this swatch is with no topcoat.
Next, is Kris. This is a gorgeous shimmery silver. It looks almost flaky, and I struggle to describe it. It has tiny holographic shimmers in it that were really hard to capture. Basically, it's sparkle-central. I did two coats here.
Last, we have Melody. Melody is a glitter topcoat. You have to shake it to get the glitters to even out in the base. This was apparently done on purpose, but it really wasn't anything special to me. It contains tiny holographic glitters, silver shimmer, and multi-colored iridescent glitter. I painted it over white, to show the color variations.
That is all I have today. I will be back Saturday with some wintery nail art for you!
Showing posts with label Matte. Show all posts
Thursday, December 10, 2015
Wednesday, August 26, 2015
Zoya Stamping over Matte
Woo it's Wednesday! That means that I only have two more days of work and then glorious vacation for 11 whole days. Oh I cannot WAIT! So, I'm keeping this short and sweet because I have a lot to do before vacation starts and only two days to do it. This is my weekly mani that features CICI&SISI plate 23.
I started off with Zoya Charisma for my base, as the prompt this week is stamping over a matte base. I stamped using Zoya Isa. These two are so pretty together!
This is what Charisma looks like on it's own. It's a lovely bright purple matte polish that went on in three thin coats. I may have been able to get away with two, but my second coat had some dragging because I was too impatient with my polishing. Whoopsie.
Thank you so much for looking today! I have my nailart done for the 52 Week Pick n Mix, so I'll try to have that up by Friday. Then, I have lots of swatches for you for the weekend. I won't be posting while I'm on vacation, but I'll try to schedule at least one or two things to keep things active around here. Bye for now!
Friday, July 24, 2015
My First Polishes From NailNation 3000!
Guys! I am seriously so stoked that I FINALLY own some polishes from NailNation 3000. I recently joined a facebook group for indie nailpolish fans, and Maria was kind enough to offer some of her older/discontinued polishes before she put them up for sale on her site. I decided it was my time to snag a couple, as I have admired them from afar for YEARS. Imagine my excitement when I actually got two polishes that were on my wishlist from years ago - Quitting Is Not An Option and Twinkle Twinkle. Hooray for holos and flakies! Check these babies out!
This is Twinkle Twinkle. It looks just like it sounds: beautiful iridescent flakies and holo goodness in one bottle. The flakies shift from green to blue, and the blue is just so bright and deep. I painted it over a navy polish, but for the life of me, I can't remember which one. I painted essie matte about you to see what it would look like mattified. I was hoping to be able to capture the flakie color shift a bit better while these were matte. You can see it a little better.
Here is what Quitting Is Not An Option looks like. It is a beautiful teal, linear holographic polish and only took two coats to become opaque. I pretty much LOVE it. The formula on both of these was perfect. No dragging, no clumping, just right. :) These first pics were taken in indirect lighting, so you can't see the holo as well, but I also took pics with flash and in the sun (below) so you can see it in all different types of lighting.
Here is what it looked like with the camera flash. Still beautiful haha. Look at those rainbows popping!
Here are the pics I took the next day in full sun! So pretty!
So, my thought on NailNation 3000 polish: um, yes please. I will take them all. :P Thank you so much for reading! I appreciate so much more than you know! <3
Labels:
Blue,
essie,
Flakie,
Holographic,
Indies,
Matte,
My Stash,
NailNation 3000
Wednesday, October 15, 2014
52 Week Pick n Mix Challenge - 1960s + Matte
This week's prompt for the 52 Week Pick n Mix challenge is 1960s + matte or texture. I decided to go with a matte 1960s look for this one. I might show off some previously unswatched textured polish later in the week, too, if I have time. For this manicure, I used a fabric pattern I found online while looking for some 1960s inspiration. I didn't recreate it exactly, but I did try to use the same colors at least.
My base for this manicure is Spoiled I Only Eat Salads. The flowers and leaves were done using Nicole by O.P.I. Pros And Confidence, NYC High Line Green, Pure Ice Vintage Glam, and Konad Special White. After I finished my nails, I added Essie Matte About You. This is a closeup of my favorite nail - my index finger. :)
Here is what this manicure looked like before I mattified it.
Here is what Spoiled I Only Eat Salads looks like on it's own. This is two coats.
Thank you so much for looking, and make sure you check out what everyone else did for their 1960s manicures!
Monday, June 23, 2014
The Neverending Pile Challenge - Brown
Good evening. The three brown polishes that I have for you today are all from Julep. I started out with a base of Julep Amber. It has a matte suede finish, and is really very pretty. I added a simple glitter gradient to it using Julep Hilary (gold glitter) and an unnamed polish that came in the New Year's box last year. I added essie matte about you to keep the entire thing matte.
Here is Julep Amber all by itself. It's a nice suede finish. I don't have many of these, so it is nice to have in my collection.
Thanks for looking. Please make sure that you look at what everyone else did for today!
Here is Julep Amber all by itself. It's a nice suede finish. I don't have many of these, so it is nice to have in my collection.
Thanks for looking. Please make sure that you look at what everyone else did for today!

Saturday, January 18, 2014
January Julep It Girl Box
Hi everyone! I received my January box from Julep a couple weeks ago, and finally have my swatches ready to share. The colors were very muted and wintery. I was actually really bored with them and planned to skip, but as usual, I forgot to skip. After swatching them, I decided that I am glad I didn't skip because now I own a good nude color. I didn't have one before.
The first color I am going to show to you is Farrah. It is called a silk finish, so I did not add any topcoat. It was semi-matte. It's funny I didn't think I would like any of these colors, but I kind of like this soft purple shimmer. I think it will look great in a Spring manicure. It went on very nicely too. This is two coats.
This satin finish white, Hope, is my least favorite of the bunch, but then again, it is probably just the absence of color that makes me dislike it. It was not a great opaque white, so the only thing I can think of that I will do with this is use it was a base for some nice matte nail art, or under some neons.
This last color is the nude that I was talking about at the beginning of my post. It is named Annemarie and is very neat looking and would be great for a job interview, or some time when you need your nails to be somber and serious.I can definitely use this in some fab nail art down the road, too, so yay! This was a better cream than the white. It only took two coats. Ignore the mess on my thumb - I have got to find a better fast dry topcoat. Seche Vite is killing me with its shrinking act.
Well that is all, I am going to go play video games now and maybe paint my nails after that! Woo!

Tuesday, October 9, 2012
Nail-Aween Nail Art Challenge - Matte Dotticure
It's day two of the Nail-Aween Nail Art Challenge, and I am much more happy with the way this mani turned out. I started out with a gradient, turned it matte, and then added my dots. I've been desperate to use some purple and slime green on my nails for the Halloween season, and this was my chance. Woohoo! Take a look.
For this dotticure, I started out with a gradient using Sally Hansen Pronto Purple, Pure Ice Black Rage, and Color Club Twiggie. Then I mattified it using NYC Matte Me Crazy, and added I dots with Pronto Purple and Twiggie. I so love the way this mani turned out! Here are a few pics of the process, so you can see the gradient before I mattified it and added the dots.
Thanks for looking, and be sure to check out the other participants in this challenge!
Tes Did It Nails
Sassy Paints
Nicole gets Nailed
glitznglammer
Finger Food
Wicked Tips
Fancy Schmancy Nails
Delight In Nails
Polish Groupie
My Nail Journey
Get Polished Up!
Just A Girl and Her Polish
Spellbound Nails
Le nail's corner d'Alex
Hello.Lacquer
Countess Nails
Color the world with polish
Nail Crime Nail Art
Coat of Mani Colors
Cutie Cuticles (nail art by Laraib)
Wacky Laki
Nail-Aween Nail Art Challenge October 1-31st, 2012
GLAMOROUS NAILS
Over The Topcoat
Polish Gone Crazy
tragedystipsandtreats
Susy In Color
Friday, August 17, 2012
KKcenterHK Water Decals Review
![]() |
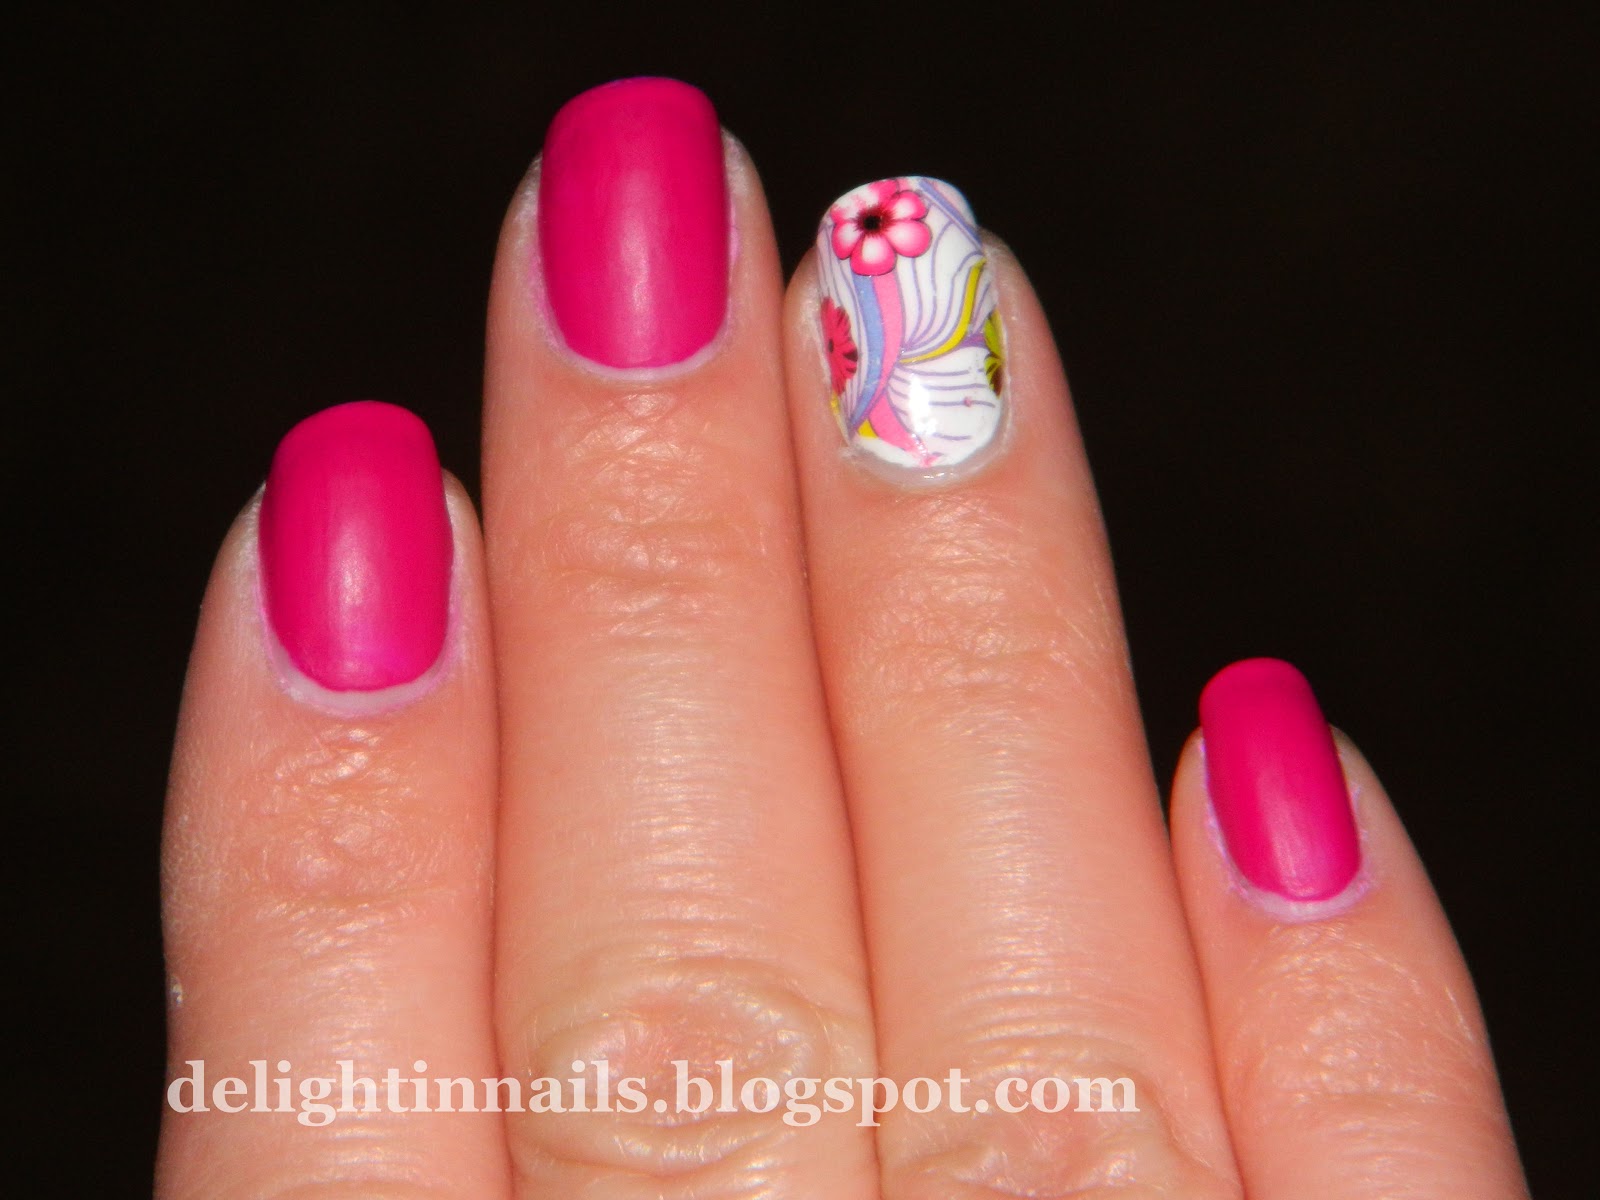
Here it is with my polish still matte |
![]() |
The color on my nails by the way is Sinful Colors Dream On |
![]() |
And here it is after I added topcoat |
I really loved the way that these water decals looked and I had them on for about 4-5 days with minimal wear. I started out by cutting out small rectangles approximately the size of my nail, soaked it in water and then applied it to the nail after peeling off the backing. I had hoped that I would be easy to trim around the edges, but that was not the case. Heehee whoops. Thankfully, when they are wet, you can still move them around, so I just removed it, trimmed it to the right shape (very difficult once the decal is already wet!), and then reapplied the decal. However, I did learn after the fact that they will dissolve with nail polish remover, but it is better to just cut them to the right shape to begin with. That is what I did for the thumb and it turned out way better.
Overall, I really liked my experience with these decals. It was something I had never tried before, and i had a lot of fun learning and experimenting with how to use them. Definitely check these out when you visit their website. They had a bunch of different styles and now that you have heard my experience, you will know how to use them properly. :)
If you would like to try out some of the nail goodies they have, don't forget to use the 10% off coupon code that KKcenterHK has generously provided to me! It is good through 1/31/2013.
*Products in this post were sent for review in return for my honest opinion.
Subscribe to:
Posts (Atom)