Hello! I am probably out on the beach right now having a fabulous time with my family, but just so you don't miss me too much, I scheduled this lovely review for you. :) This is my second shot at using their
D.I.Y. Water Decals and I have to say, I learned a lot the first time around, so this time went way better. I got fancy with this one. Here is what I ended up with.
So when the decal sheet arrived in the mail, it looked like this. It is packed nicely and this is actually resealable packet as well, which is nice. I put my leftover portion of the decal sheet back in there to use it again in another mani. :)
This sheet is the same size as the
last one I reviewed, and I decided to do a partial nail instead of a full nail. Here is a pic of what one of them looked like once I had it all cut out to fit on the nail.
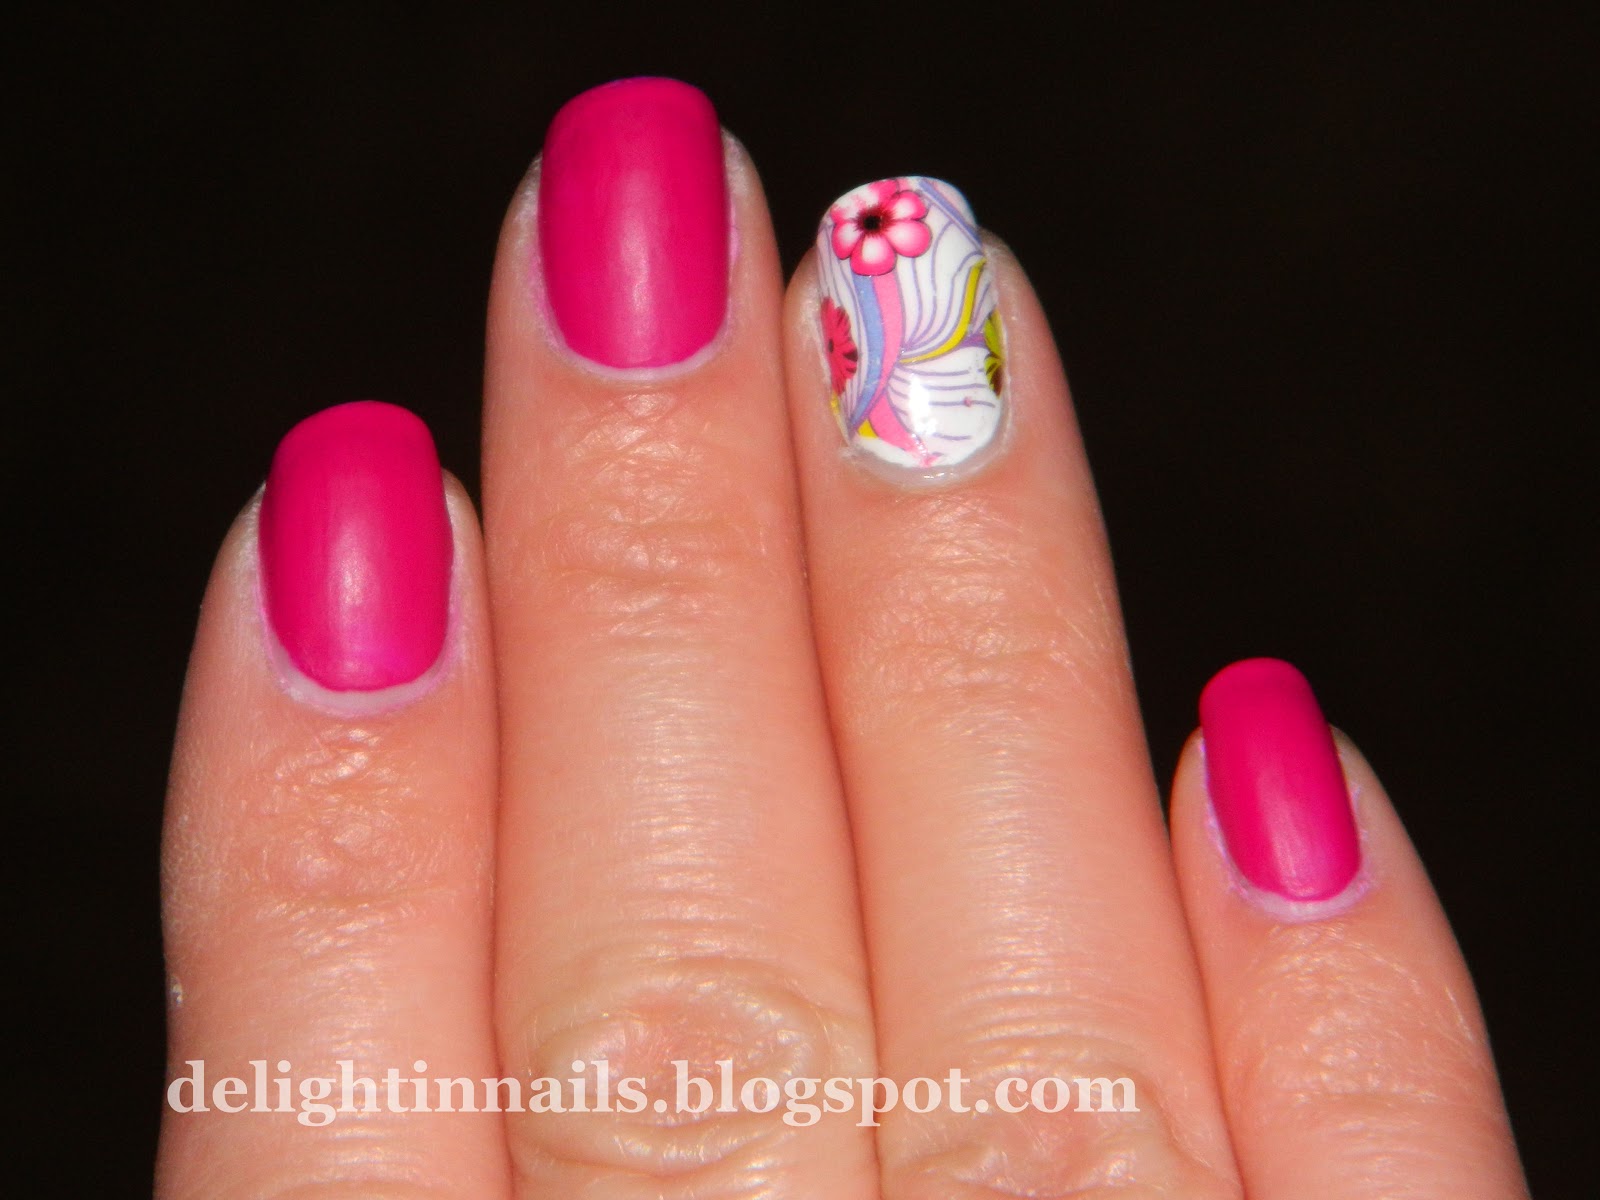
I had a lot of fun with these, and I got to use some polishes I haven't used much yet, too. :) Here is Sally Hansen's Hi-Def by itself. It is a very thin polish, so this is about 4 coats. Lovely color, huh?
I also wanted to mention that I tried a couple different topcoats with this mani, and this time I think the topcoats I used actually were worse. :( Here is an image with an explanation about which topcoats I used on each nail.
On the pinky/thumb, I used Orly Top 2 Bottom, which is my fave basecoat.
It ate the decal. On my ring finger, I used Sally Hansen Hard as Nails.
It did ok, until I reach the tip of the nail, and it lifted the decal
right off in one spot, which is why you see the chunk taken out on the
corner, there. On my middle finger, I used NYC In a New York Minute
Topcoat which did ok, but bubbled on me just because it is old and
getting thick. On my index finger, I used AVON Speed Dry Topcoat, which
did alright as well. It only ate the decal a little bit. So, now that I
see how some of these other topcoats did, my Seche Vite doesn't seem so
bad after all. I think that the NYC and AVON topcoats did the best
though.
I am really pleased with my experience with the water decals this time, and super happy with my results. Definitely check these decals out. They are a great alternative to nail art if you are short on time, and look way better than anything you can do by hand without spending hours at it. :)
If you would like to try out some of the nail goodies they have, don't forget to use the 10% off coupon code that
KKcenterHK has generously provided to me! It is good through 1/31/2013.
Coupon Code: DelightInNails

*Products in this post were sent for review in return for my honest opinion.