
 |
| Here it is with my polish still matte |
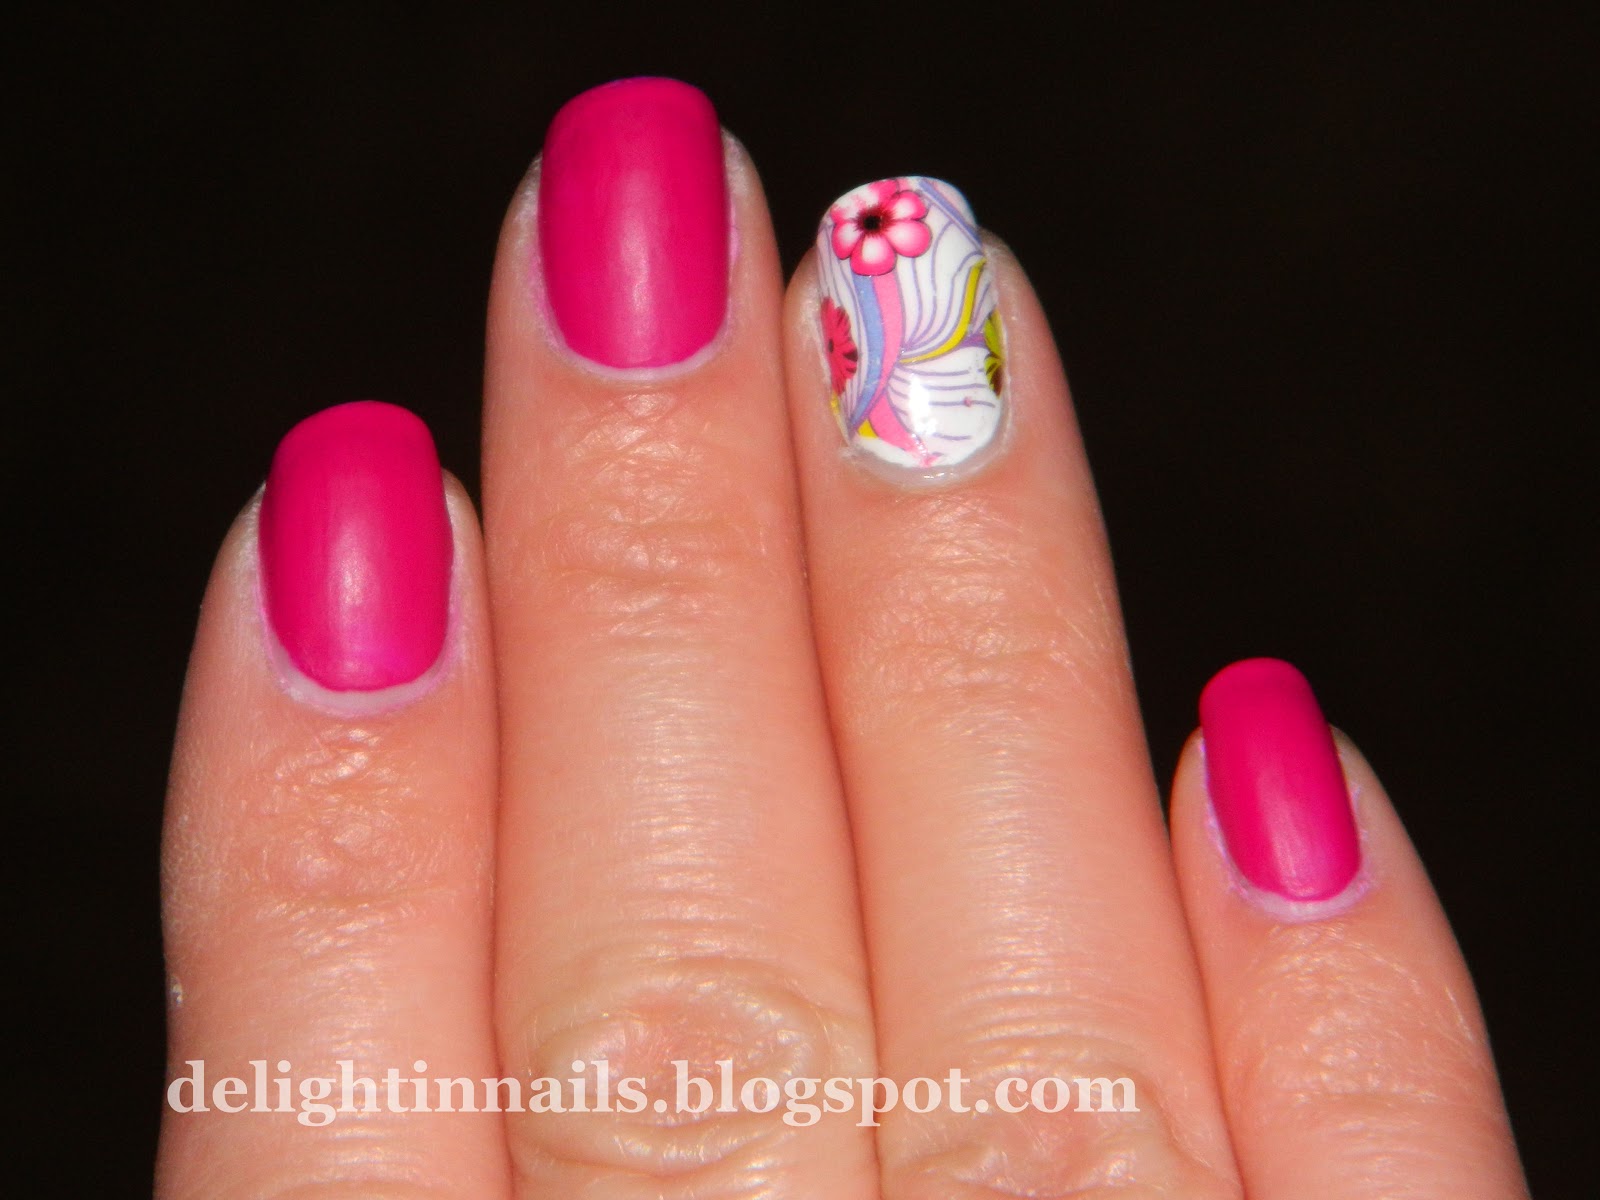 |
| The color on my nails by the way is Sinful Colors Dream On |

 |
| And here it is after I added topcoat |

I really loved the way that these water decals looked and I had them on for about 4-5 days with minimal wear. I started out by cutting out small rectangles approximately the size of my nail, soaked it in water and then applied it to the nail after peeling off the backing. I had hoped that I would be easy to trim around the edges, but that was not the case. Heehee whoops. Thankfully, when they are wet, you can still move them around, so I just removed it, trimmed it to the right shape (very difficult once the decal is already wet!), and then reapplied the decal. However, I did learn after the fact that they will dissolve with nail polish remover, but it is better to just cut them to the right shape to begin with. That is what I did for the thumb and it turned out way better.

Overall, I really liked my experience with these decals. It was something I had never tried before, and i had a lot of fun learning and experimenting with how to use them. Definitely check these out when you visit their website. They had a bunch of different styles and now that you have heard my experience, you will know how to use them properly. :)
If you would like to try out some of the nail goodies they have, don't forget to use the 10% off coupon code that KKcenterHK has generously provided to me! It is good through 1/31/2013.
Coupon Code: DelightInNails

Wow! I love the design!
ReplyDeleteI know - isn't it great! I looked through so many before I picked this one and it seriously looks even better in person. :)
DeleteThanks!
ReplyDeleteGreat decal and application! I haven't used these yet but really wanting too have just used temp tattoos my kids have around the house :)
ReplyDeleteThanks, and I've heard that temp tattoos work pretty well. I look for them when I'm at the dollar store, but I can never seem to find any that I would want on my nails. :)
Deletereally cute design!
ReplyDeleteThanks! I loving these decals!!
DeleteWow, how pretty! Question - did your bottle of Dream On apply that matte?? I have that same shade of Sinful and it is not matte at all! (I wish it was is why I'm asking lol)
ReplyDeleteYes, it was that matte, but it chipped/wore in less than I day, so I ended up adding topcoat to make it last.
Delete